Translate

Monday, September 11, 2017

Autumn Blessings

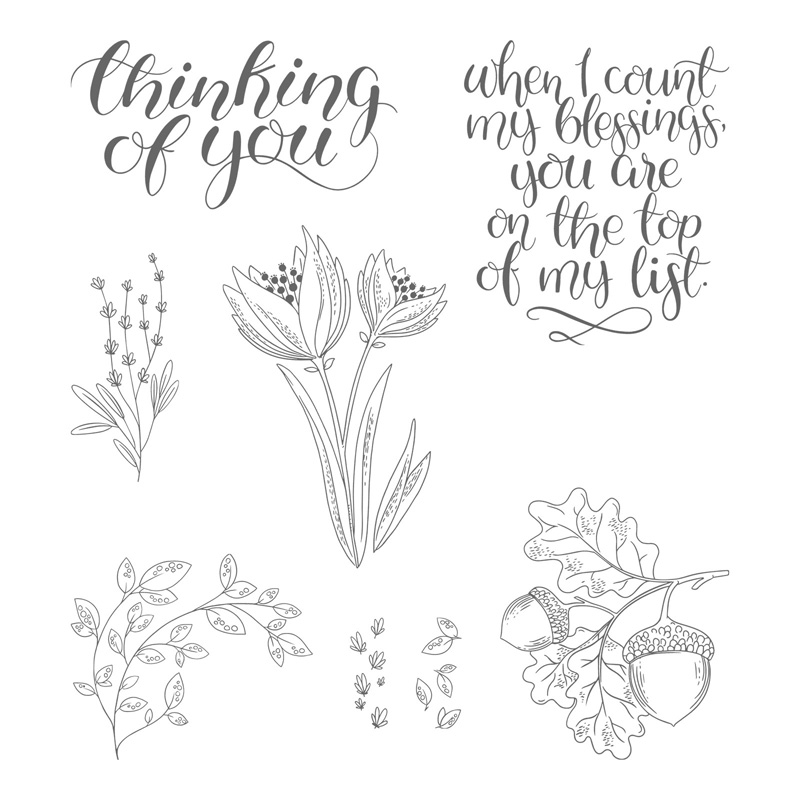
Isn't this a beautiful card? It's made with the new stamp set Count My Blessings, available in both wood and clear mount.
Such a pretty font! And those images are just begging to be watercolored!


Friday, September 8, 2017

Graveyard Gate Suite


This die cut is so elegant! Lots of uses beyond the amazing ones in the video!

Monday, September 4, 2017

Holiday Catalog Is Live!

My computer died, so I'm improvising till the new one arrives--delayed by the holiday weekend! Thanks for your patience.


If you've ordered from me in the last 6 months, then you should have received your copy of the Holiday Catalog by now! If not, you can see it here: Holiday Catalog
Or browse and shop here: Holiday Catalog Online Shopping


17 Holiday Cover.JPG

Friday, September 1, 2017

Embossing Paste Wedding Cards


The card layers from the Soft Sayings kit strike again! These masks are looking very well-loved on my desk lately. I was curious how it would look to spread embossing paste through the entire mask and then cover it with embossing powder. It's a little messy-looking, because I wasn't going for a precise look here. I wanted lots of texture and sumptuous metallics to really take over the cards.

For the Bermuda Bay card on the left, I used silver embossing powder. Be fairly quick to add the powder before the paste dries. Then I added a clear-embossed sentiment on vellum, because I couldn't bear to cover up all that yummy embossing.

For the card on the right, I used a piece of Delightful Daisy Designer Series Paper that was calling to me from my cutting table. "Use me! Make me prettier!" All the pretty new things keep me up at night with their demands! Copper seemed to be the best color for this paper, so I used the diamond mask (you could also die cut your own with the Eclectic Layers Thinlits) to spread embossing powder, then quickly added copper embossing powder. I used the same sentiment because it was still out on my desk. A copper foil layer was all that was left to add!

Show me in the comments what you're making with embossing paste!

******************************

Product List

Monday, August 28, 2017

August Paper Pumpkin with Doodles


I have a doodling problem--can't leave anything alone! This month's Paper Pumpkin provided me with so many opportunities to add layers and texture, not only with doodling, but with all the lovely die cut pieces and stamped images.

Most of the cards are already made up, because they will all get USED! Do you have a stockpile like I do? Today is a great day to send a card to someone you've had on your mind.

Here's the video for this month's Paper Pumpkin, and don't forget there is a special going on for new Paper Pumpkin subscribers! Click here to learn the details--offer good till Sept 10.


Friday, August 25, 2017

Daisy Delight Designer Series Paper


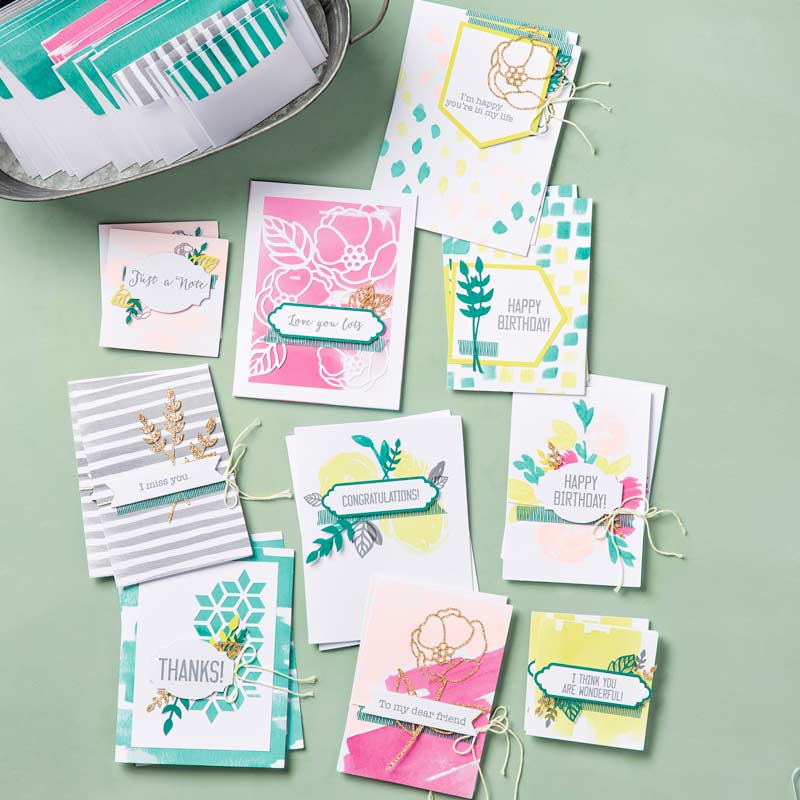
Do you have a pile of Designer Series Paper sitting in your craft spot? It's time to use some up! With just a few simple supplies, you can make beautiful cards to spread a little joy.

The easiest way is to cut a width of 5 inches, then one of 4 inches, leaving 3 inches leftover. The 5 inch pieces you'll need to trim to 3 3/4 inches tall, then add a solid layer of 5 1/4 inches by 4 inches. A simple greeting will change that printed paper into a lovely card! If you use a "just because," "thinking of you," or "just a note," you can make that card work for any occasion!

The 4 inch wide set can be cut to 5 1/4 inch height and layered right onto a card base with a sentiment. The 3 inch wide set can be cut to 4 inches height and used either vertically (as in the above picture) or horizontally, with a "layer" of ribbon between it and the white space below.

Those pretty papers deserve some love! You can always use birthday cards, thank you cards, sympathy cards, or the more generic kids listed above. Go forth and CARD!


Product List

Monday, August 21, 2017

July Paper Pumpkin Circles


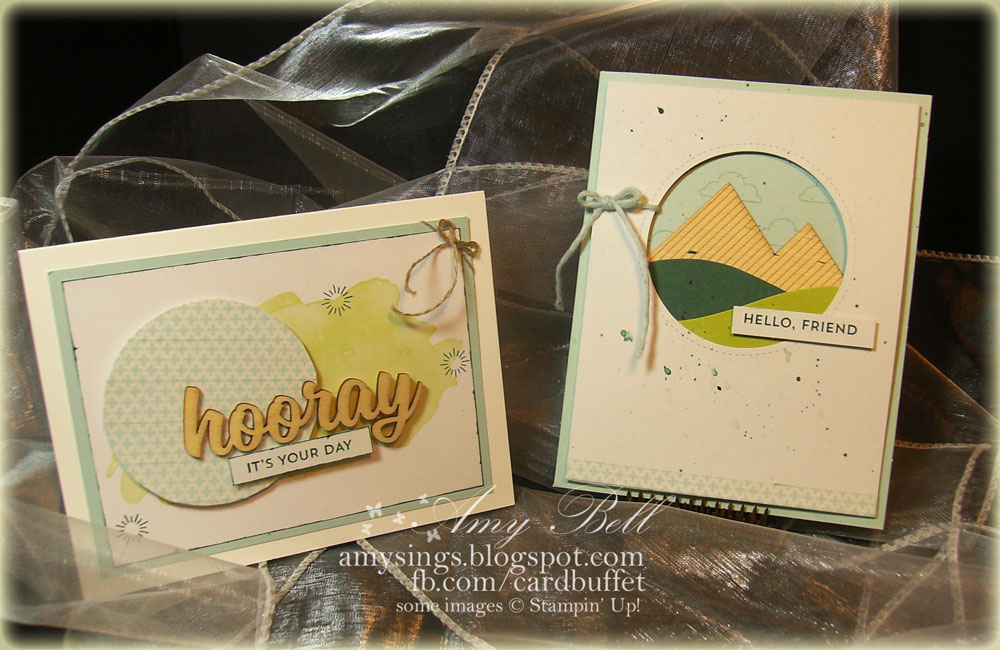
It's not often that I just make up a kit the way the instructions say, but the July Paper Pumpkin was fabulous! All I added was a bit of twine and some spatters. I loved the wood elements in this kit, as well as the washi tape! It's all so tactile, which is my favorite kind of project!

The last several Paper Pumpkin kits have really knocked it out of the park. There's a great special on right now, if you've never tried Paper Pumpkin before. A self-contained kit arrives every month, and you'll love having the projects prepared for you!


Click here or go to goo.gl/nynVwn  to start your subscription with the code HALFOFF0917 


With Paper Pumpkin, you'll save time and money while you build a collection of crafting supplies. Every month you'll receive a unique stamp set with an ink spot (that won't repeat a color in a 12-month period). In no time at all, you'll have a variety of stamps and ink to use on other projects. In addition, your first kit includes a free clear stamping block that you'll use every month.

Friday, August 18, 2017

Watercolor Soft Sayings Mask


You may already know that the Soft Sayings kit is one of my favorite things from the Stampin Up Catalog! One of the main things I loved was one of the card overlays. I wanted to use it as a mask. [For those of you like me who hate the idea of using one up that way, remember that you can order a kit refill with more overlays for just $21!]


First I coated it with gloss gel (you could use Mod Podge) to make it a bit more durable. When that dried, I placed the mask over watercolor paper and used a makeup sponge to add Berry Burst and Lemon-Lime Twist inks.

For the card on the left, I removed the mask and spritzed the card front with water--just a little, till the ink started to blend a bit. After it dried, I added a sentiment from Rose Wonder (stamped with the MISTI, so I could re-stamp on the bumpy watercolor paper) in black. Then matted it with Berry Burst cardstock and mounted it on Thick Very Vanilla cardstock. Which reminds me that I need to order more of that!

For the card on the right, I left the mask on the watercolor paper when I spritzed the water. This gave the image clearer lines and made it more defined. When it dried, I mounted it on Gold Glimmer Paper and a Thick Very Vanilla base.

I love both these cards. I can't decide which one I like better! But I'll probably be making more just like this, in different color combinations.


Product List