Translate

Showing posts with label Rose Garden Thinlits. Show all posts

Thursday, April 28, 2016

Tutorial: Reverse Rose Garden Cut Outs

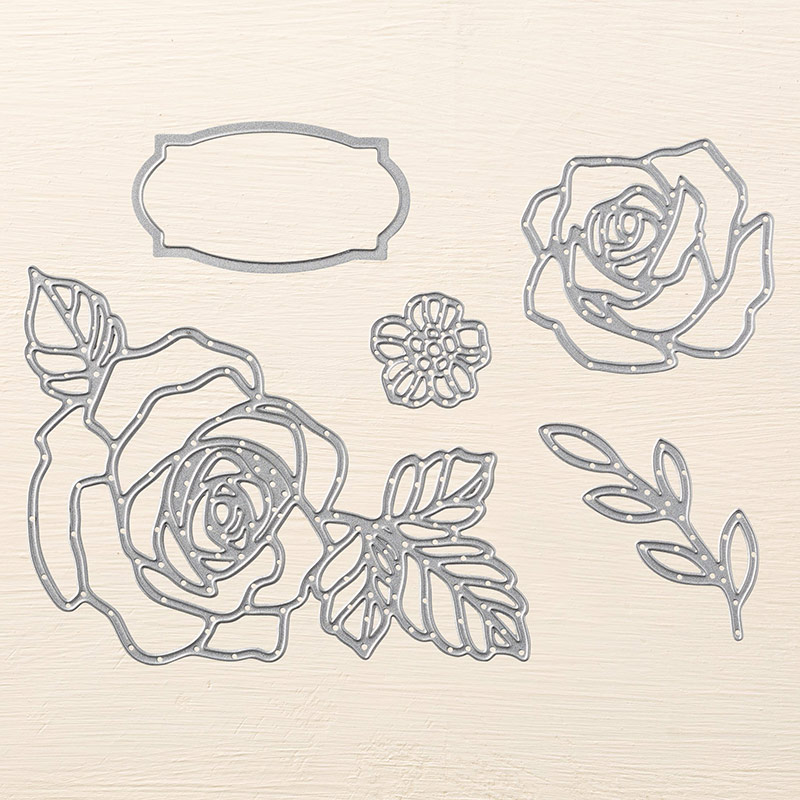
You can make so many amazing things with the Rose Garden Thinlits! I've shared a few hints on my Facebook page (fb.com/cardbuffet) on how to make these reverse rose images, so I thought I'd cover it in more detail here.

After you've made your die cut, carefully remove the outside edges (that you no longer need) and the die itself. You want to disturb the "bits" as little as possible, but sometimes they just get out of place. Nudge them back the best you can with a stylus or paper piercer while you still have the outline in place. Then remove the outline and apply Press N Seal to the remaining pieces. In the photo below, I laid the outline on top of the Press N Seal to make sure I lined up the missing pieces correctly. Sometimes only one or two try to escape, and other times it's a bit more time intensive!


Here is a photo with the two pieces separated.

The only step left is to apply Multi glue to the back of the pieces and adhere them to the card. This was quite a bit more difficult with Black Glimmer paper, or any glimmer paper. It notoriously takes a long time to settle into adhesives. Other cardstock or designer paper would be easier to work with. As you peel back the Press N Seal (as you would the liner of a rub-on), use your stylus or paper piercer to hold the pieces in place. You may have to nudge a few of them around before you're finished, but the extra time is well worth it!

Here is one I made with the Blushing Bride Glimmer paper onto Shimmery White cardstock.

I hope you enjoyed my little photo tutorial! I would love it if you left me a comment or posted your creations using this process!

*****************************


Product List

Thursday, April 7, 2016

Shimmery Rose Garden Background


I shared this photo of a card made with the Rose Garden Thinlits on my blog earlier this week. The Rose Garden Thinlits are on sale this week, so it's a great time to pick them up! I will be featuring them at my Stamp Club next week, also.
Shimmery White cardstock gives this project a gentle glow. I used a sympathy sentiment, but I think it would make a beautiful wedding card too! I wanted a subtle, textured effect, so I chose just one shape to use on the entire card. You could use a different shape or even combine two or more.

Here is a side view. You can see a bit more of the shimmer here:


****************************


Product List

Thursday, March 17, 2016

Wildflowers and Roses

The Rose Garden Thinlits are just lovely! Have you played with them yet?? Here I used part of the main rose die on a background of Wildflower DSP (SAB). The greeting is Blackberry Bliss ink that I quickly embossed with clear powder so it would show up on the vellum.

*************************
Greeting stamp is from the February 2016 Paper Pumpkin kit "Hello Sunshine"


Product List

Monday, March 7, 2016

February Paper Pumpkin and Rose Garden Thinlits

I wanted to use those gorgeous "leftover" bits of flower from the February Paper Pumpkin Kit "Hello, Sunshine." First I cut out around the image, then I decided to use my Frog Tape for Delicate Surfaces to lift the flower pieces. They came up perfectly! Then I just applied them like I would a rub-on to my watercolored paper. The floral cut-outs are from the Rose Garden Thinlits set--I need to use this more right away! The Glitter Tape adds a bit of shine, but I can't decide if I love it on this card or not. What do you think??

**********************

Stamps from February Paper Pumpkin


Product List