This print is one of my favorites from the Birthday Fiesta Designer Series Paper set. I love all the colors and the embroidered look! I just did a little stamping in the colors from the print (Tempting Turquise, Emerald Envy, Melon Mambo, and Crushed Curry), and added a strip of cardstock and a doily sponged with Emerald Envy.
This is a 10-minute card--make one today with the Festive Birthday Suite!
This Fancy Frost textured paper is so versatile and fun! The best view of it is in this video. The online and paper catalog photos really don't do it justice.
I love these Floral Boutique cards I made for my mom! I should have made myself a set at the same time, I guess. Oops. This is a favorite saying from the Suite Sayings set. It works for graduations or accomplishments, birthdays, new babies, or any other happy occasion!
Cut up your papers! Quit hoarding them! (This is what I tell myself every time I step into my craft room.) There will always be new pretty papers, so use what you love now. Make it into something lovely for yourself or someone else.
So many birthdays! Between the middle of October and the middle of
November, we have birthdays for my sister, two of my brothers, my mom,
my sister's husband, my husband's brother AND his sister, and two of my
daughters. Whew!
All this to explain why I've mainly shared birthday cards lately! I've turned to my Paper Pumpkin kits, looking for fast but special birthday card materials, and Paper Pumpkin did not fail me! This card is made from the December 2015 kit, which was supposed to be calendars. I kept out my favorite backgrounds and made them into birthday cards!
You might think you have too many supplies to sign up for Paper Pumpkin, but I'll tell you that for me, it boosts my creativity to get a fun package of supplies every month! If you're already a Paper Pumpkin believer, make a birthday card from kit leftovers and link to it in the comments!
Don't wait too long to get your free Designer Series Paper! Use the host code XDXPTDMQ to get my Shimmery Watercolor Leaves Tutorial and sample for FREE!
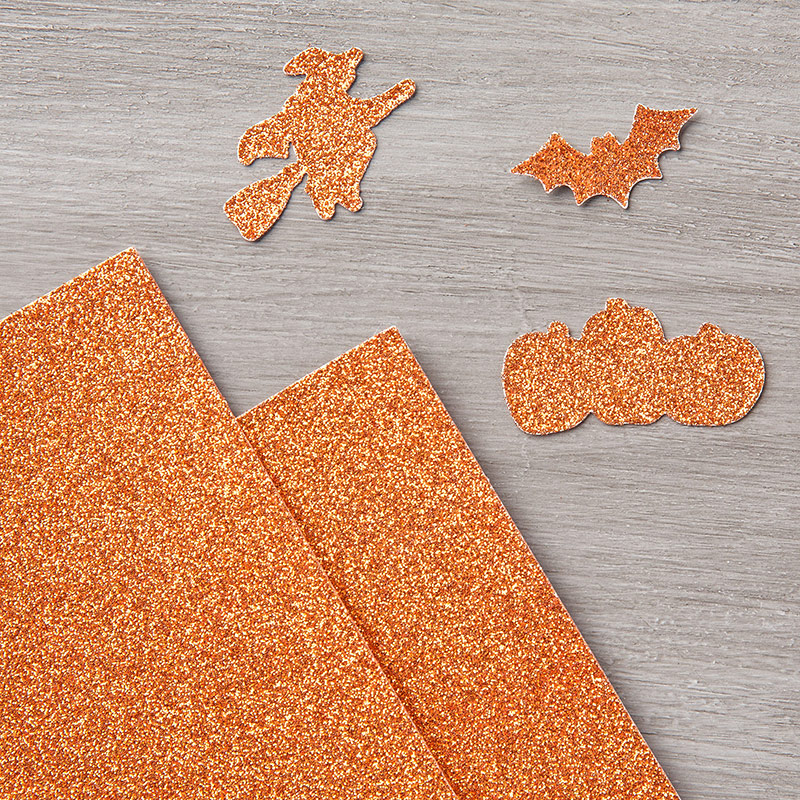
I love all things pumpkin, but this Pumpkin Pie Glimmer Paper has surprised even me! It was a last-minute add on to an order, but I have been using touches of it on nearly everything I make the last few weeks. The stamps are from past Paper Pumpkin kits.
Order some pumpkin sparkle now to add to your fall projects! This month, receive a free Shimmery Watercolor Leaves tutorial and sample card (in the mail) when you place any order using the host code: XDXPTDMQ
I've been doing a tiny bit of organizing in my craft room. It's a BIG disaster, and I blame my 4 year old. He didn't make the mess, though. I'd just rather be with him than clean up!
I've been going through older Paper Pumpkin boxes, and I found some treasures! Sometimes, we forget what great stuff we already have in our craft stash in our rush to get the latest things. Here's a flashback to a great kit!
Shaker cards and projects are all the rage now, but this kit is from December 2014! If you have that kit in your stash, break it out and make these fabulous shaker cards (with matching envelopes, not pictured). And when you're done, you'll have leftover goodies to make even more!
If you don't have this kit, you probably have everything you need to make a shaker card already.
You'll need:
dies or punches to make a "window"
Window Sheets, transparencies, or clear packaging material
sequins, glitter, confetti, or punches to make them
Embossing Buddy or dryer sheet to reduce static
Foam Adhesive Strips or Dimensionals, or foam tape
Prepare your card base, then make your window in a piece of cardstock smaller than your base. It can be any shape! Adhere Window Sheet behind it (to hold your shaker stuff in).
Use Foam Adhesive Strips or other foam tape around the edges of your window piece to create a space behind your window.
On top of your card base, place a small pile (a 1/2 teaspoon is a good starting point) of sequins, glitter, confetti, or small punched shapes. This is a fabulous way to use up scraps! Check all your Glimmer Papers, Designer Series Papers, and cardstock for scraps that coordinate.
On your window piece, use your Embossing Buddy on the side of the Window Sheet that will be against the confetti. Then remove the backing tape from your adhesive strips. Carefully lay this piece over your card base and press gently to adhere. Ta da! Shake to your heart's content!
This month's Paper Pumpkin kit is also a shaker card kit! Check it out here: